
Difficulty
Moderate
Steps
7
Time Required
- Tal.0 Print and Assembly Guide 7 steps

In Progress
This guide is currently being written. Reload periodically to see the latest changes.
Quiz
0
Introduction
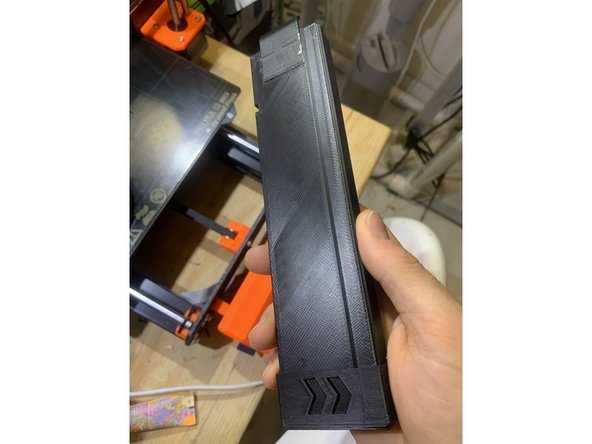
Thanks for buying or building a Tal.0 magazine! With some patience (and some super glue) you'll have a high-performance half-length mag.
-
-
Skip this step if you purchased a kit from Voidstar Combat Sports.
-
The Tal.0 should be printed out of PETG or nylon. It's difficult to fold PLA without breaking it.
-
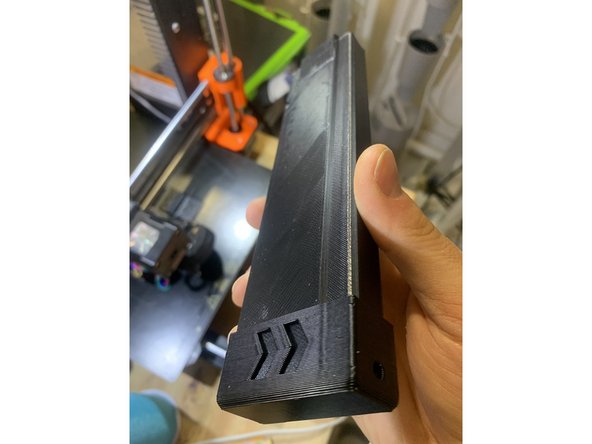
Print one body, endcap, and follower. Print two lips. No parts need supports or brims, though you may need brims on the lips.
-
The body should be printed at 0.1mm or 0.2mm Z-resolution. Other parts can be printed at any resolution.
-
If possible, increase the Z-resolution of the top 5mm of the follower to 0.1mm or finer. This will prevent your pusher or breech from jamming.
-
When slicing the body, ensure that bridges are perpendicular to the creases.
-
-
-
In addition to the 3D-printed parts, you'll need a drum spring and high-quality glue. We recommend:
-
-
-
We also recommend having a heat source handy. A radiator, hair dryer, or even hot 3D-printer bed is perfect.
-
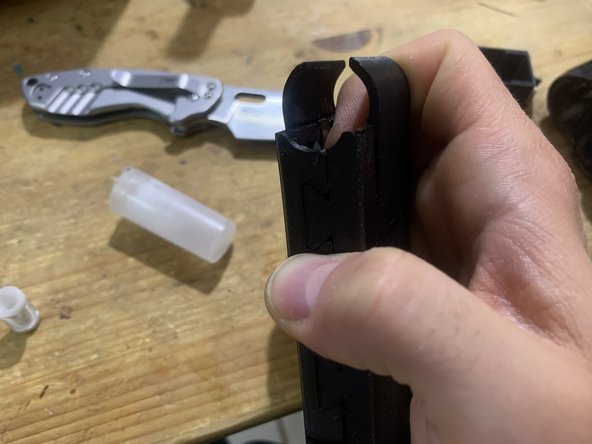
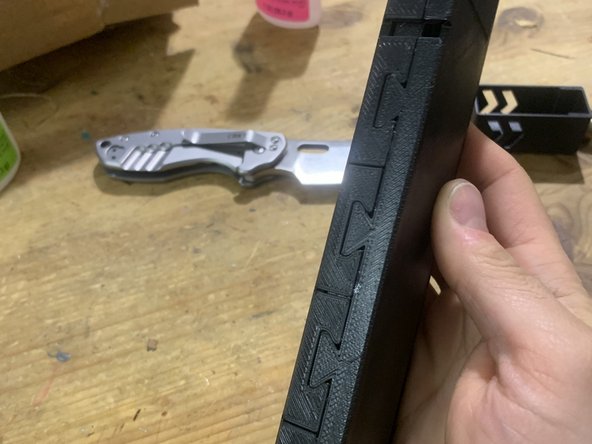
A knife is helpful for trimming parts that are slightly oversized or out of place.
-
If desired, Teflon or graphite dry lubricant can improve performance. Avoid this if using a flywheel blaster.
-
-
-
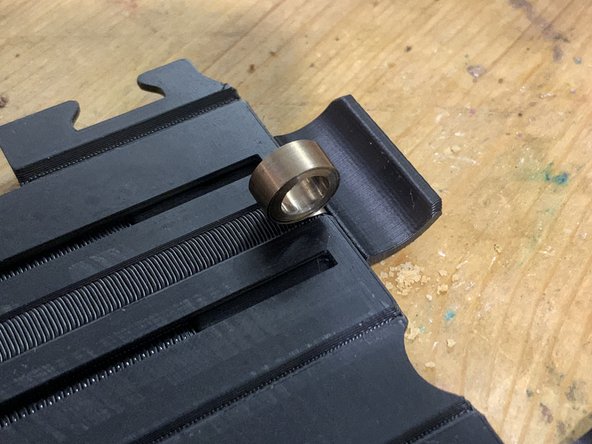
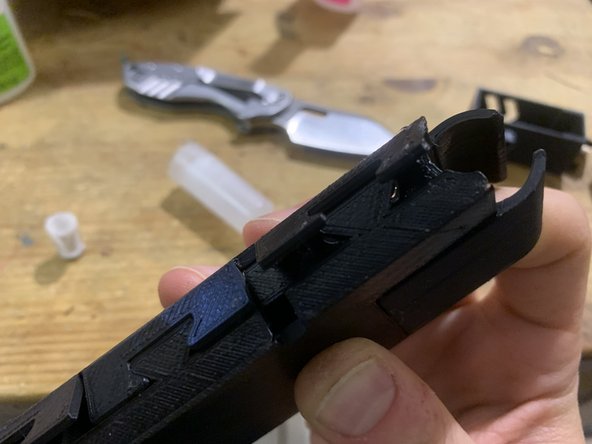
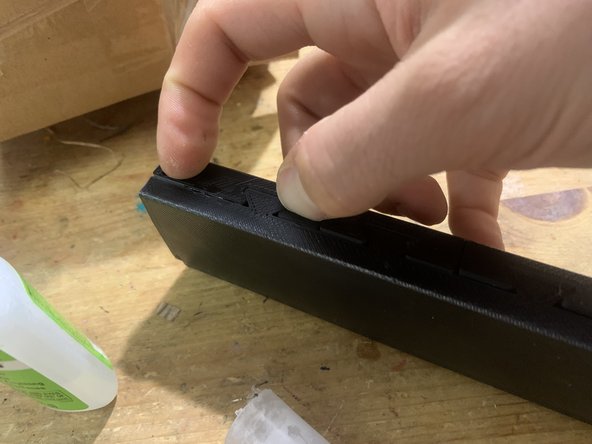
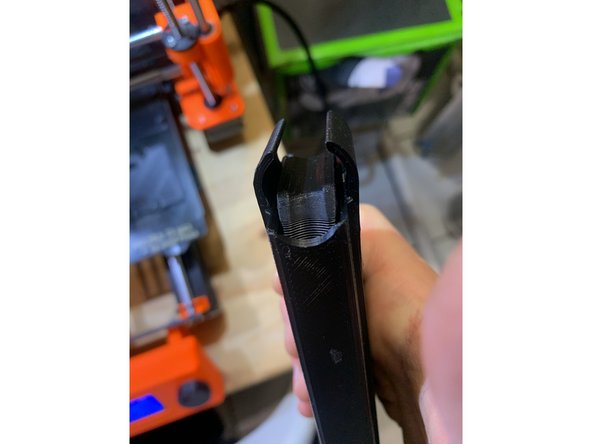
One side of the body has a small notch on the top. Hang the drum spring over the notch.
-
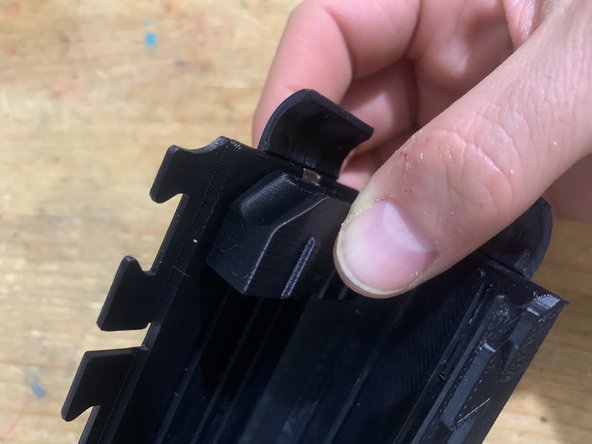
Test-fit the lip. It should fit easily into place. Trim the tail of the drum spring, and the lip, if necessary.
-
Liberally apply glue and mount the lip over the drum spring. Hold it for a few minutes until set.
-
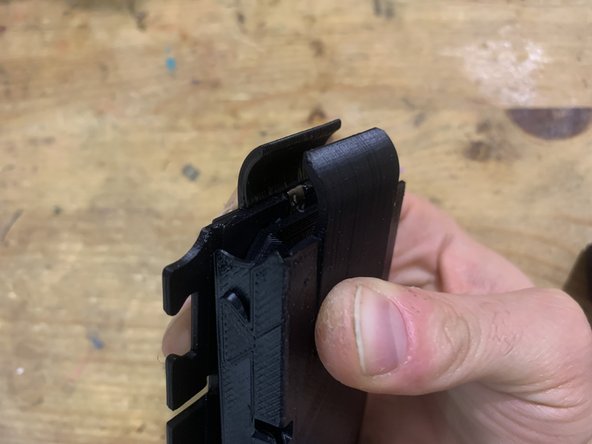
Test-fit and glue the other lip. Hold it for a few minutes as well.
-
Don't proceed until the glue is completely cured. Accelerator spray can get you moving faster.
-
-
-
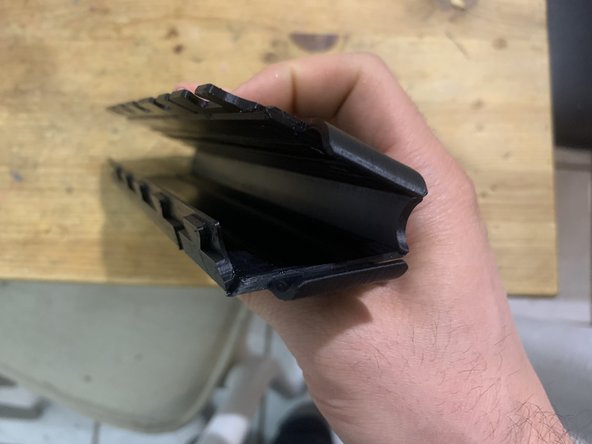
Work slowly and evenly to prevent the body from breaking.
-
Don't fold any crease 90 degrees yet! Unfolding a crease may break it.
-
It's easier to fold when it's warm. A hair dryer, radiator, or 3D printer bed can warm it up. Don't use an oven or heat gun - it'll melt!
-
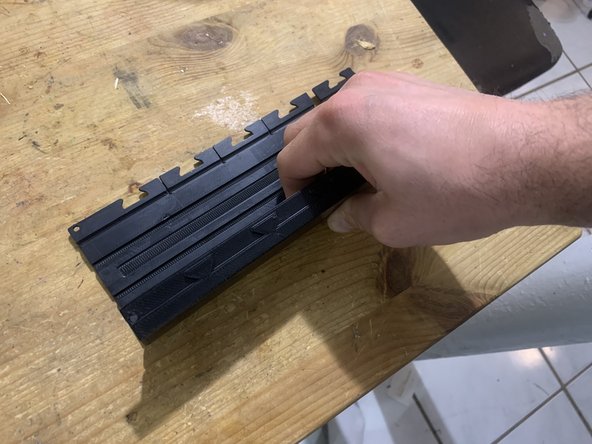
Starting with the pictured side, and working evenly, fold the panel about 45 degrees. Use the table to brace one side of the fold.
-
Move on to the next crease and fold it 45 degrees.
-
Continue until all creases are bent. Gently tighten the body until it's almost closed.
-
-
-
Add the follower and push it down onto the rails.
-
Gently close the magazine up.
-
Gently fold each locking tab almost into position.
-
-
-
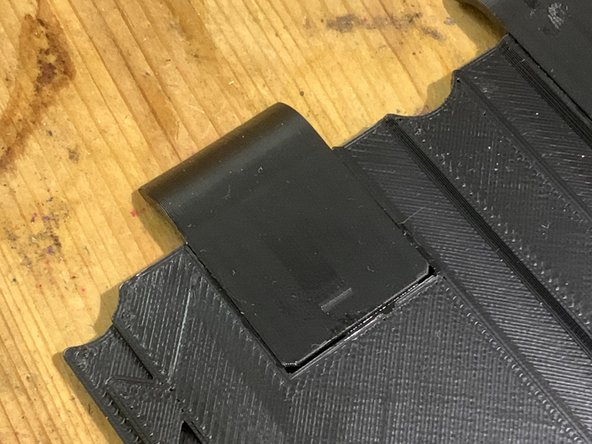
Apply a single drop of glue under both sides of the top locking tab.
-
While holding the follower down, gently snap the top locking tab down. Hold it for a minute so the glue can set.
-
Moving towards the bottom of the mag, glue each tab one by one. Allow each tab to set before moving on.
-
Wait for all the glue to cure before continuing, or use accelerator.
-
-
-
If desired, spray Teflon or graphite dry lubricant into the bottom of the magazine.
-
If the follower is getting stuck, squeeze two opposite edges of the mag until the follower releases. Hold the mag squeezed to tighten up those folds, until the follower no longer jams.
-
Add the endcap. Don't glue it! If it's loose, use two surplus Nerf blaster screws to screw it into place.
-
You're done! Test your new mag in your favorite blaster, and Nerf on!
-


Cancel: I did not complete this guide.
One other person completed this guide.